Homemade rolls are truly something special in Denmark, because while Danish baking culture boasts fantastic pastries (Wienerbrød) and dark rye bread (Rugbrød), the classic German "Schrippe" or "Schnittbrötchen" with that distinctive crispy crust and fluffy interior is rarely found here.
What makes the "German" roll special in Denmark: In Denmark, rolls (Boller) are often softer and richer—frequently made with butter or milk in the dough—leaning more toward brioche or soft sandwich rolls. This recipe relies on a long, cold fermentation. That's exactly the secret: During 10 hours in the fridge, flavors develop that you'd never achieve with quick fermentation. And it also creates that wonderfully crispy crust. For someone living in Denmark, it's a genuine piece of home straight from your own oven.
Ingredients
- 400 g flour (wheat type 550 or spelt type 630)
- 10 g salt
- 5 g sugar
- 5 g fresh yeast
- approx. 250–280 ml water (lukewarm)
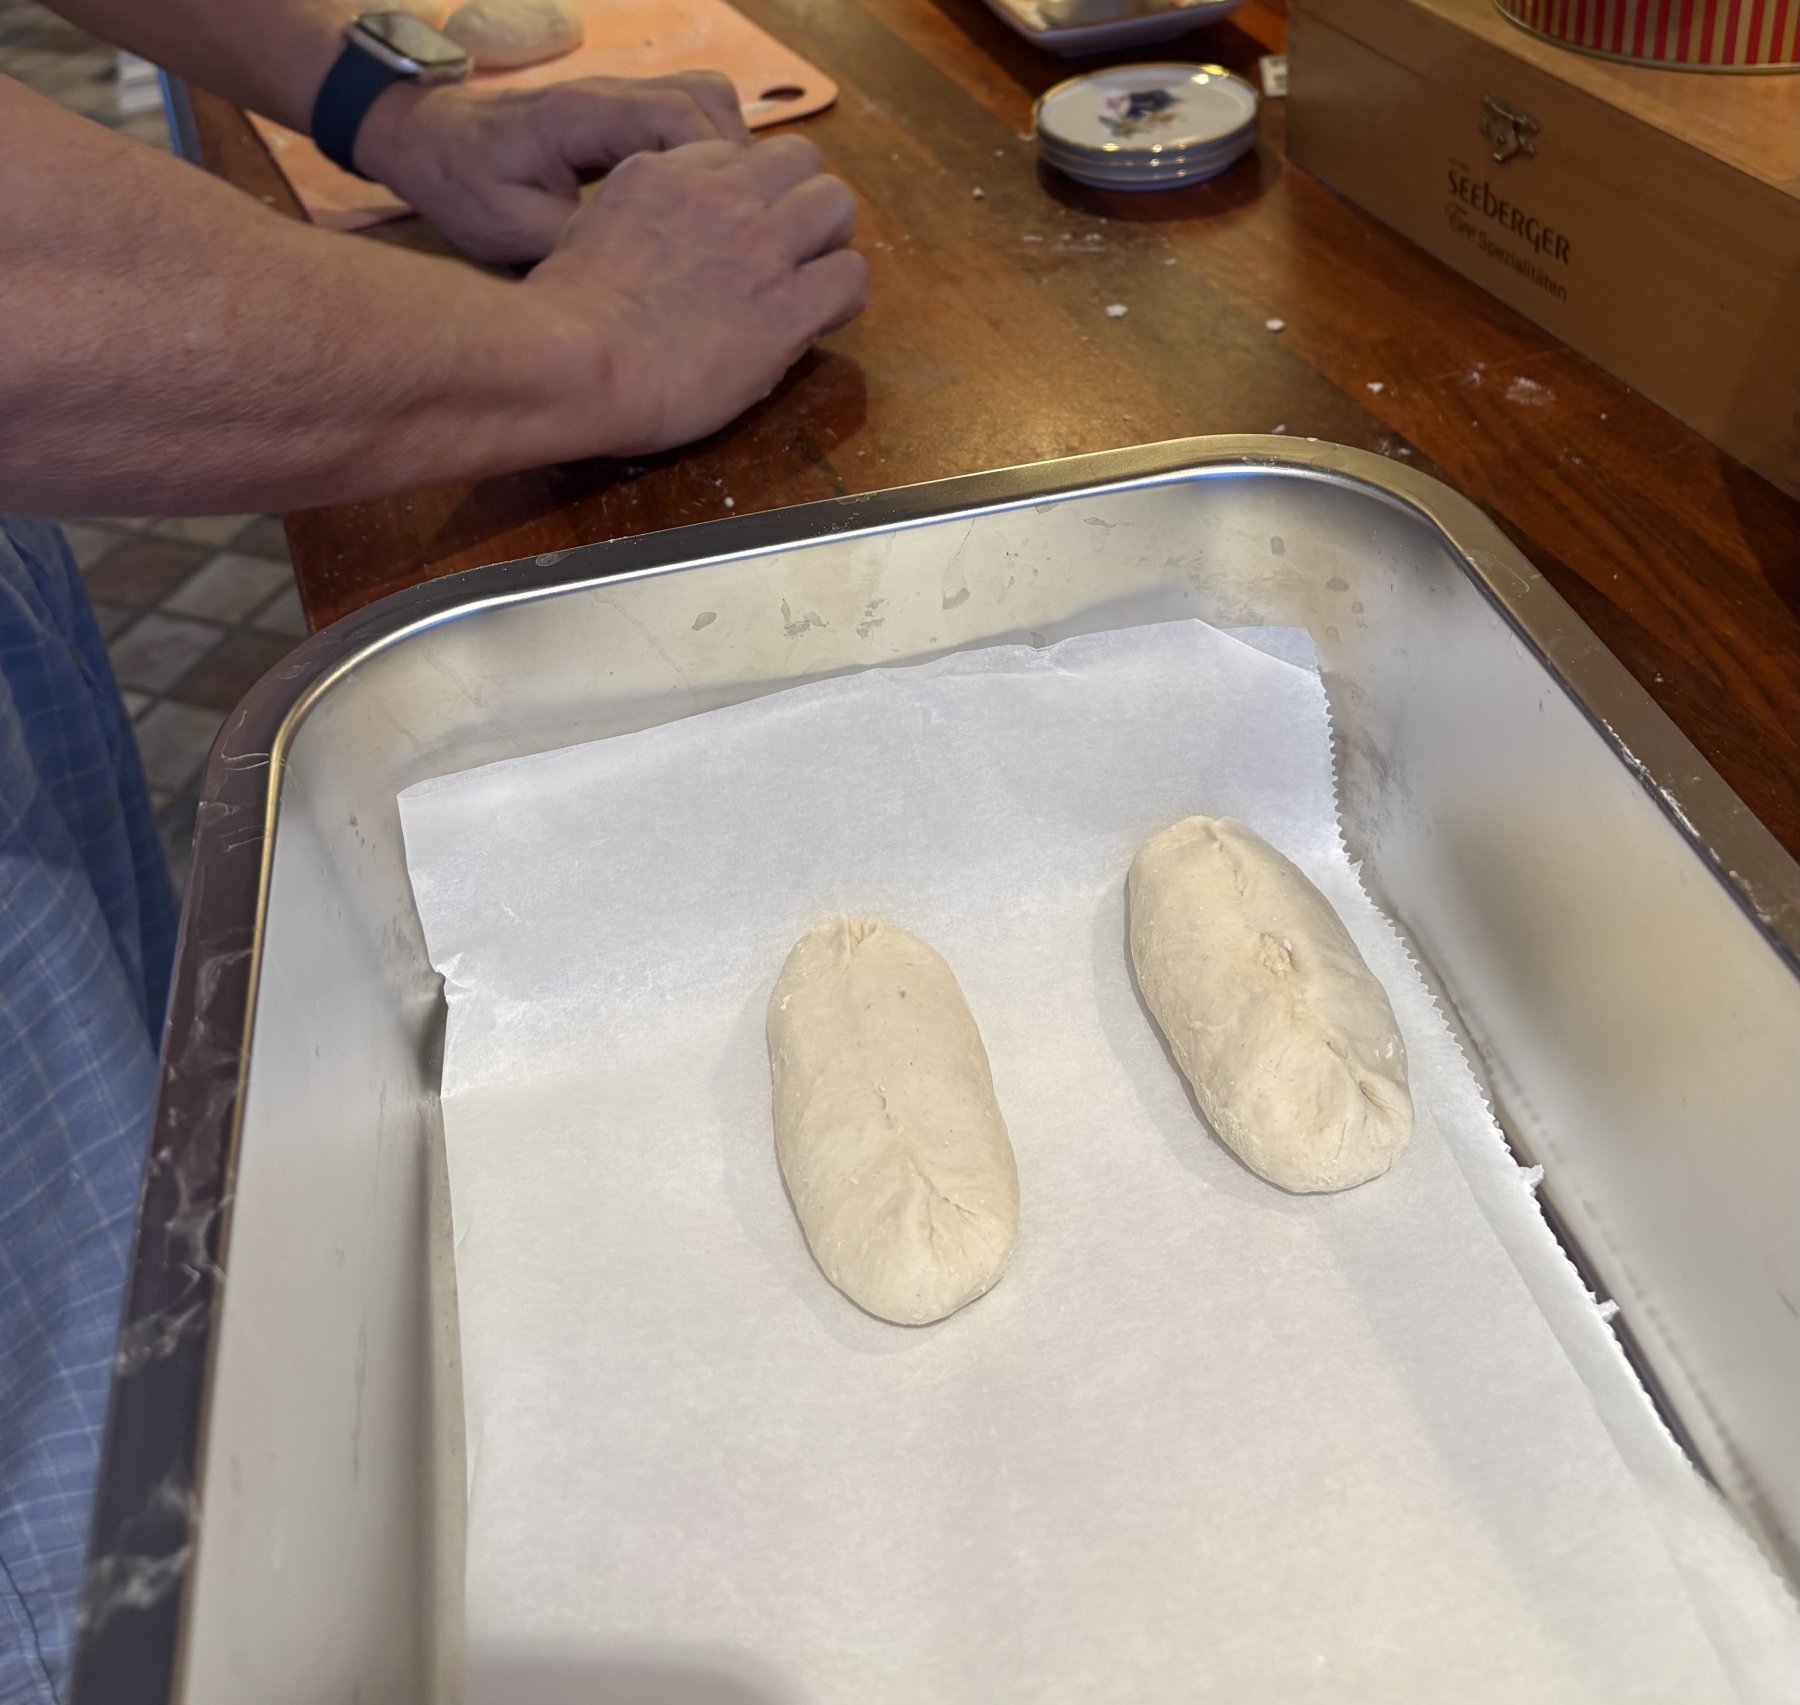
Instructions 1. Make the dough: Add all ingredients to a mixing bowl. Mix the dough on low speed for 4 minutes, then knead vigorously on high speed for another 4 minutes. 2. Divide and shape: Weigh the dough into pieces of about 90 g each.
Shape them into rounds or ovals and place on a baking sheet. 3. Cold fermentation (the most important step): Cover the sheet (so the dough doesn't dry out) and refrigerate for 10 hours. During this time, the dough develops its structure and flavor. 4. Bake: Preheat the oven to 240 °C (top and bottom heat).
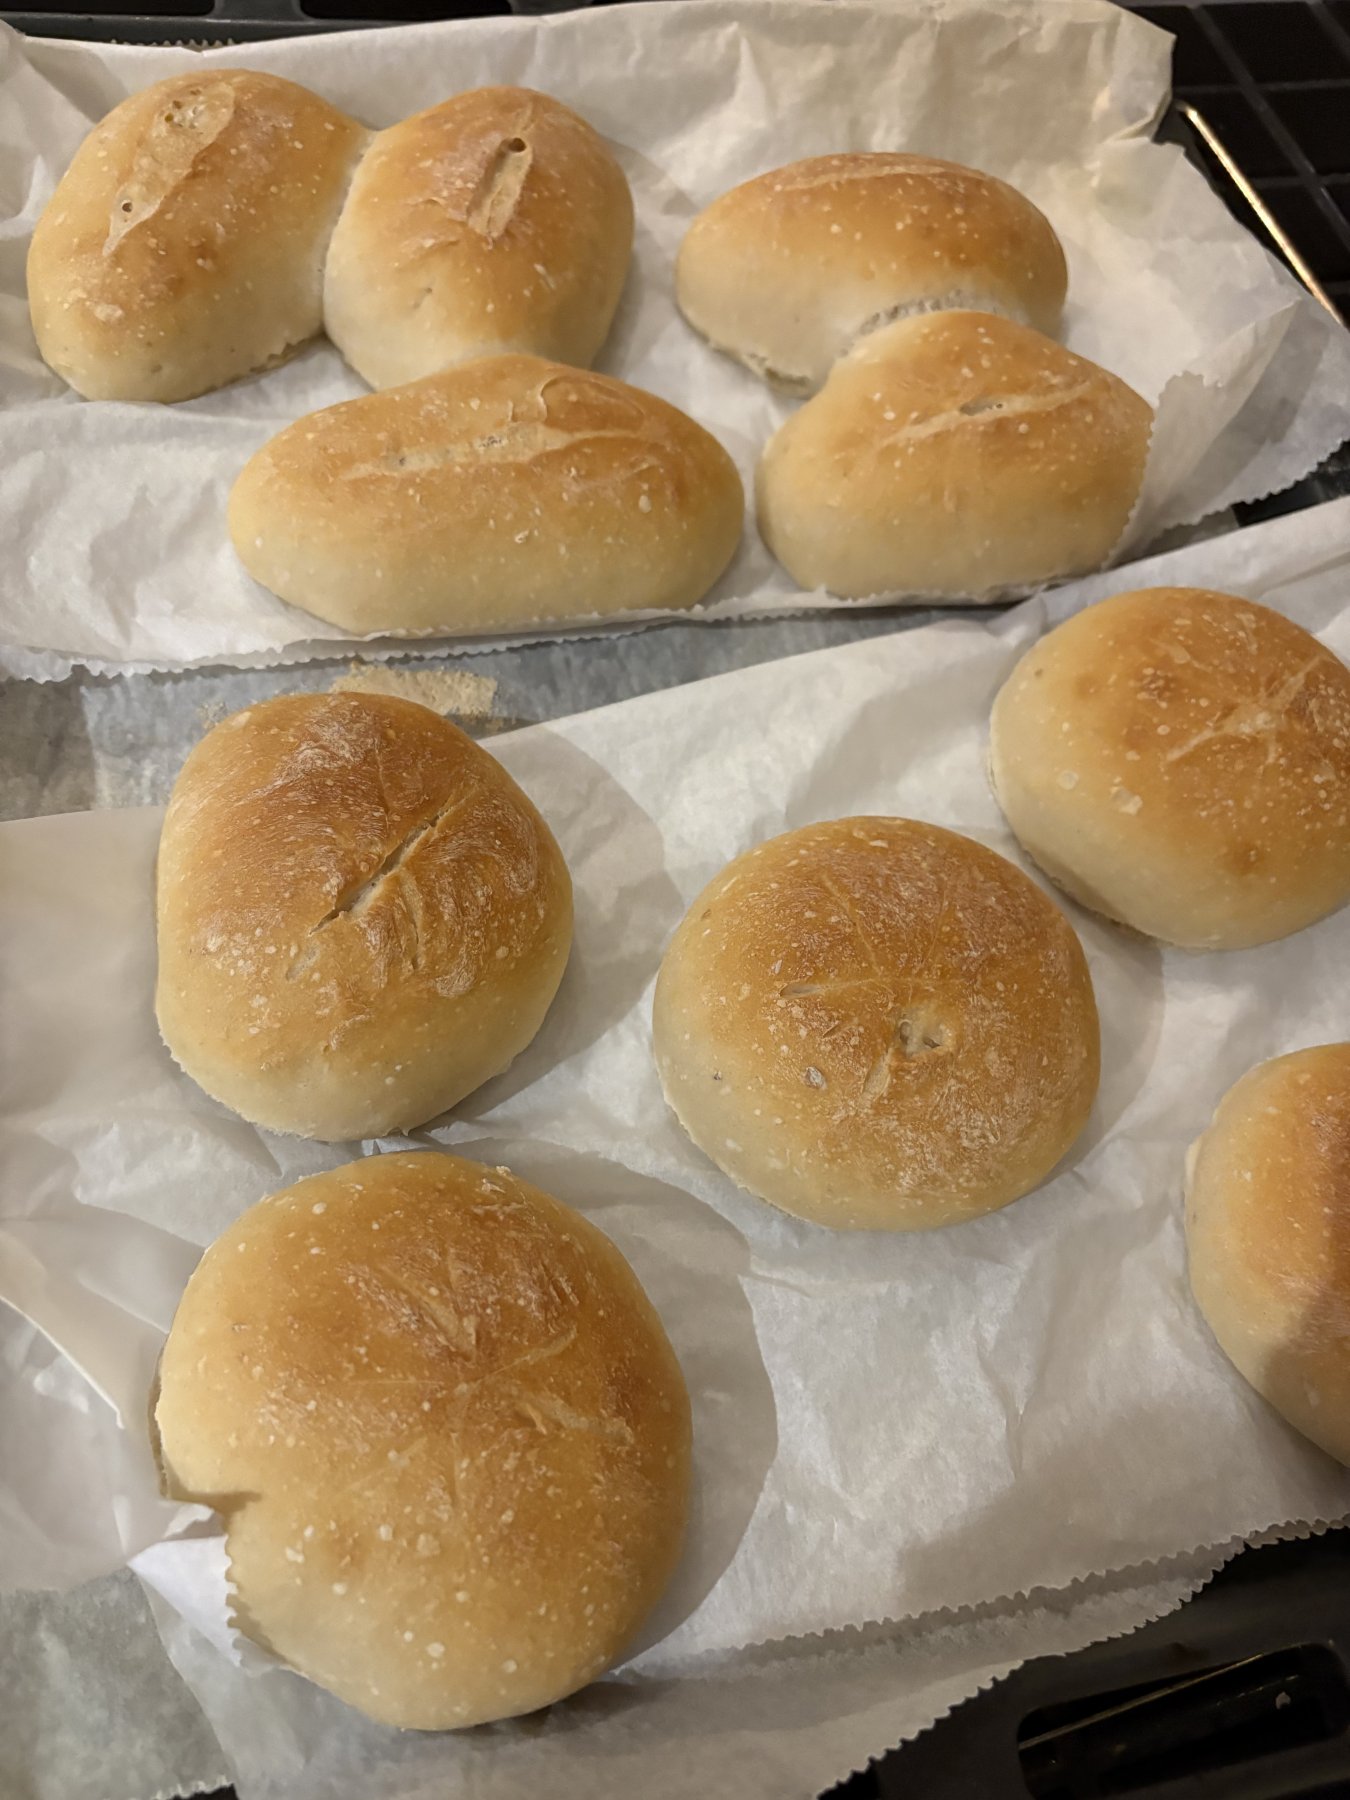
Transfer the rolls directly from the fridge to the hot oven and bake for about 15 minutes.
For rolls that rise beautifully in the oven and have a lovely shine, place a small oven-safe bowl with water on the oven floor during preheating. This creates steam (just like in a professional bakery).
My professional tip for freezing and reheating:
- Freeze in portions: As soon as the rolls have completely cooled after baking, pop them straight into freezer bags. This keeps the interior moist.
- Gentle thawing: Leave them overnight at room temperature so the crumb becomes beautifully elastic again.
- The finishing touch on a flat toaster: A quick heating on the toaster recreates that "fresh-from-the-oven" effect. The crust becomes crispy again without the roll drying out in the center—which often happens when reheating in a full-size oven.
If you brush the rolls with a little water before baking and press them into poppy seeds or sesame, you've created the perfect bridge between German crispness and Danish style.